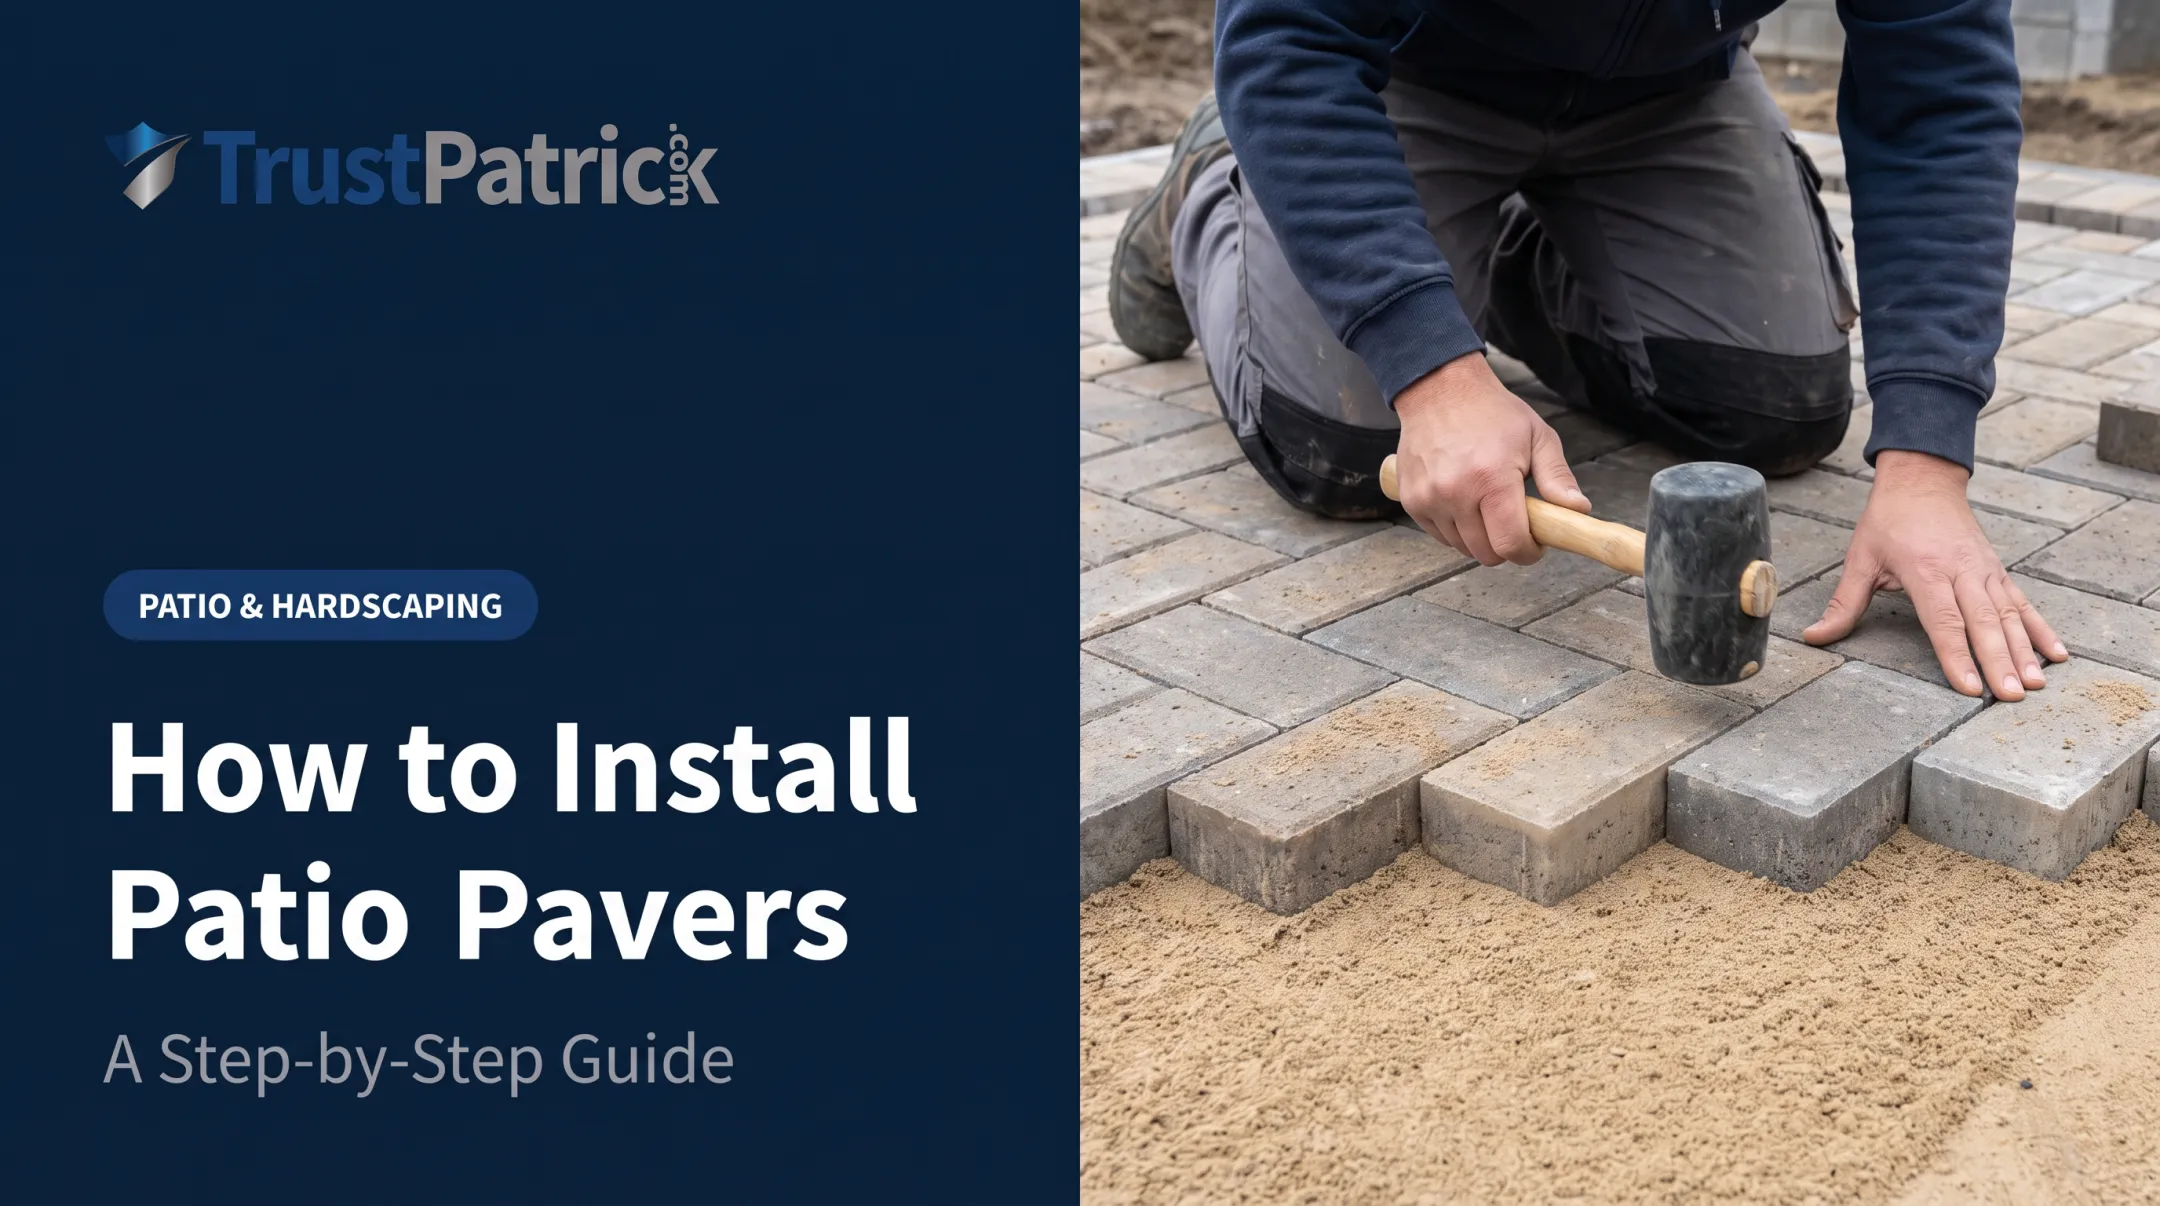
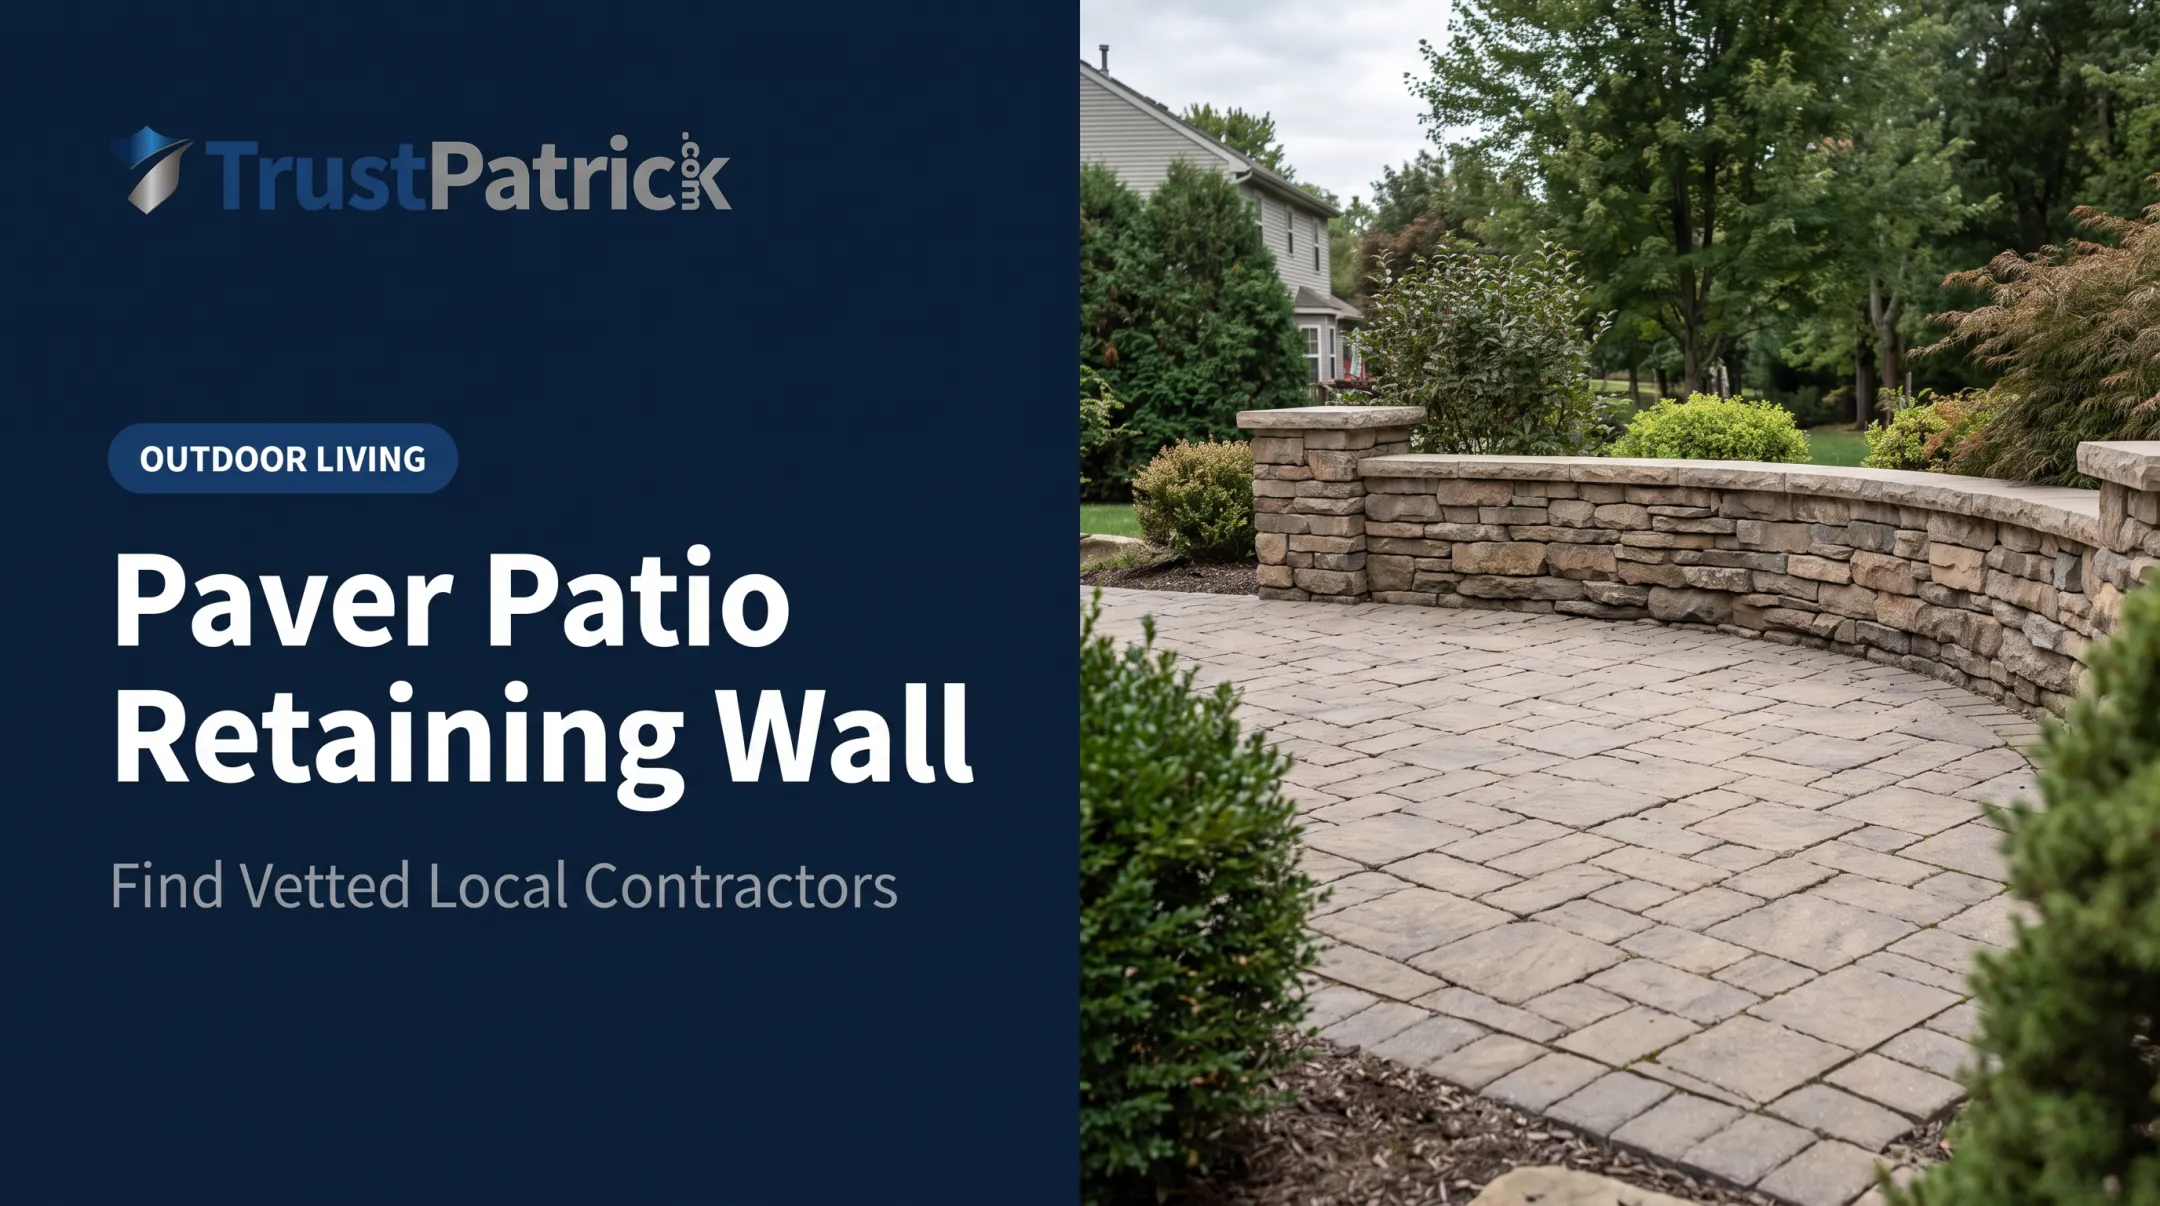
Experienced DIYers with proper equipment and a free weekend (or two) can handle a straight, simple walkway. Curved layouts, drainage-challenged yards, or natural stone work are better left to licensed hardscape or masonry contractors.
Skip a step, and you'll pay for it later: sinking pavers, weeds pushing through joints, water pooling near your foundation, or frost heave cracking your careful layout. This guide walks through the full process, from planning to finishing, using the same base-building standards professional installers rely on.
TL;DR
- Base depth: 7-9 inches total (4-6 inch compacted gravel + 1 inch sand bed)
- Core steps: Plan, excavate and grade, build the base, lay pavers with edge restraints, finish with polymeric sand
- Must-have tools: Plate compactor, rubber mallet, level, masonry saw
- Before digging: Call 811 and check local permit requirements
- Complex project? Compare vetted local contractors for the install
Installation Guide for a Concrete Paver Walkway
The process breaks into four phases: planning and prep, excavation and base-building, paver placement, and joint finishing and final checks. A standard 20-40 foot walkway typically takes a weekend to a few days, depending on soil conditions and your experience level. Bring a helper; moving gravel and pavers solo gets old fast. For complex grades, poor soil, or a full install you do not want to DIY, compare vetted local contractors before you dig.
Prerequisites and Safety Considerations
Before you break ground, confirm your site is ready:
- Width: Plan for 36-48 inches. A 36-inch minimum clear width meets the accessible-route standard in ADA.gov design guidelines.
- Slope: Grade away from structures. Belgard's installation guidance puts typical drainage slope at 1/8 to 1/4 inch of drop per linear foot.
- Soil and climate: Check your soil type and local frost line depth. Your paver material should suit your region's freeze-thaw pattern.
- Compliance: Call 811 a few business days before digging — it's the national utility-marking hotline, and it's free. Also check with your local building department for permit requirements.
Critical: Do not skip utility marking, proper base compaction, or a stable excavated base. These three shortcuts cause almost every long-term failure.
Tools and Materials Required
Tools:
- Shovel and wheelbarrow
- Plate compactor (rentable; no need to buy one)
- Hand tamper
- Levels and a screed board
- Rubber mallet
- Masonry or wet saw for cuts
Materials:
- Pavers (order about 5% extra)
- Geotextile fabric
- Crushed gravel base
- Leveling sand
- Edge restraints
- Polymeric jointing sand
If you substitute materials, match manufacturer specs closely. Paver sand and concrete sand are not interchangeable. Polymeric jointing sand is formulated to resist erosion and weed growth; standard jointing sand is not.
How to Install a Concrete Paver Walkway (Step-by-Step)
Installation follows a defined sequence. Skip compaction or drainage grading, and you're creating long-term problems, not saving time.
Preparing the Site
- Mark your layout with stakes and string for straight runs, or a garden hose for curves.
- Excavate 7-9 inches deep, removing roots, rocks, and debris as you go.
- Compact the sub-base soil with a plate compactor before adding anything on top.

Building the Foundation
Lay geotextile fabric across the excavated area first. This matters most in clay or poorly draining soil, where it stops the base from mixing with the subgrade.
Add your gravel base in lifts of 3-4 inches, compacting each layer before adding the next. Trying to compact a full 6-inch layer in one pass won't give you the density you need.
Once the gravel is at the correct height, screed a 1-inch leveling sand bed using pipe guides for a consistent depth.
Placing and Securing Pavers
- Install edge restraints first; they hold the system together and stop lateral shift.
- Lay pavers in your chosen pattern, starting from a corner.
- Keep joint spacing consistent (typically 1/16–3/16 inch for concrete pavers; confirm with the manufacturer).
- Cut edge pieces with a wet saw for clean fits.

Initial Leveling
Walk the surface and check for high or low spots. Use a rubber mallet to seat high pavers. For low spots, lift the paver and add a bit more sand underneath before resetting it.
Finishing with Polymeric Sand
- Sweep polymeric sand into the joints until they're full.
- Compact with the plate compactor to settle it in.
- Remove excess sand with a leaf blower.
- Mist the surface to activate the polymer binder.
- Let it cure for 24–48 hours before foot traffic.

Skip a step here, and you'll be redoing the joints within a season. If excavation, grading, or compaction is more than you want to take on, compare vetted local hardscaping contractors through TrustPatrick and get up to three no-obligation estimates.
Post-Installation Checks and Validation
Before calling the project done, run through these checks:
- Visual: Do all pavers sit flush? Are joints evenly filled? Are edge restraints firmly anchored?
- Functional: Walk the entire surface, feeling for wobble or movement.
- Drainage: Pour water across the walkway and confirm it flows away from your house rather than pooling.
Skipping this step is how homeowners end up with gradual sinking or washed-out joint sand after the first heavy storm — problems that are far more annoying to fix once pavers have settled.
Common Installation Problems and Fixes
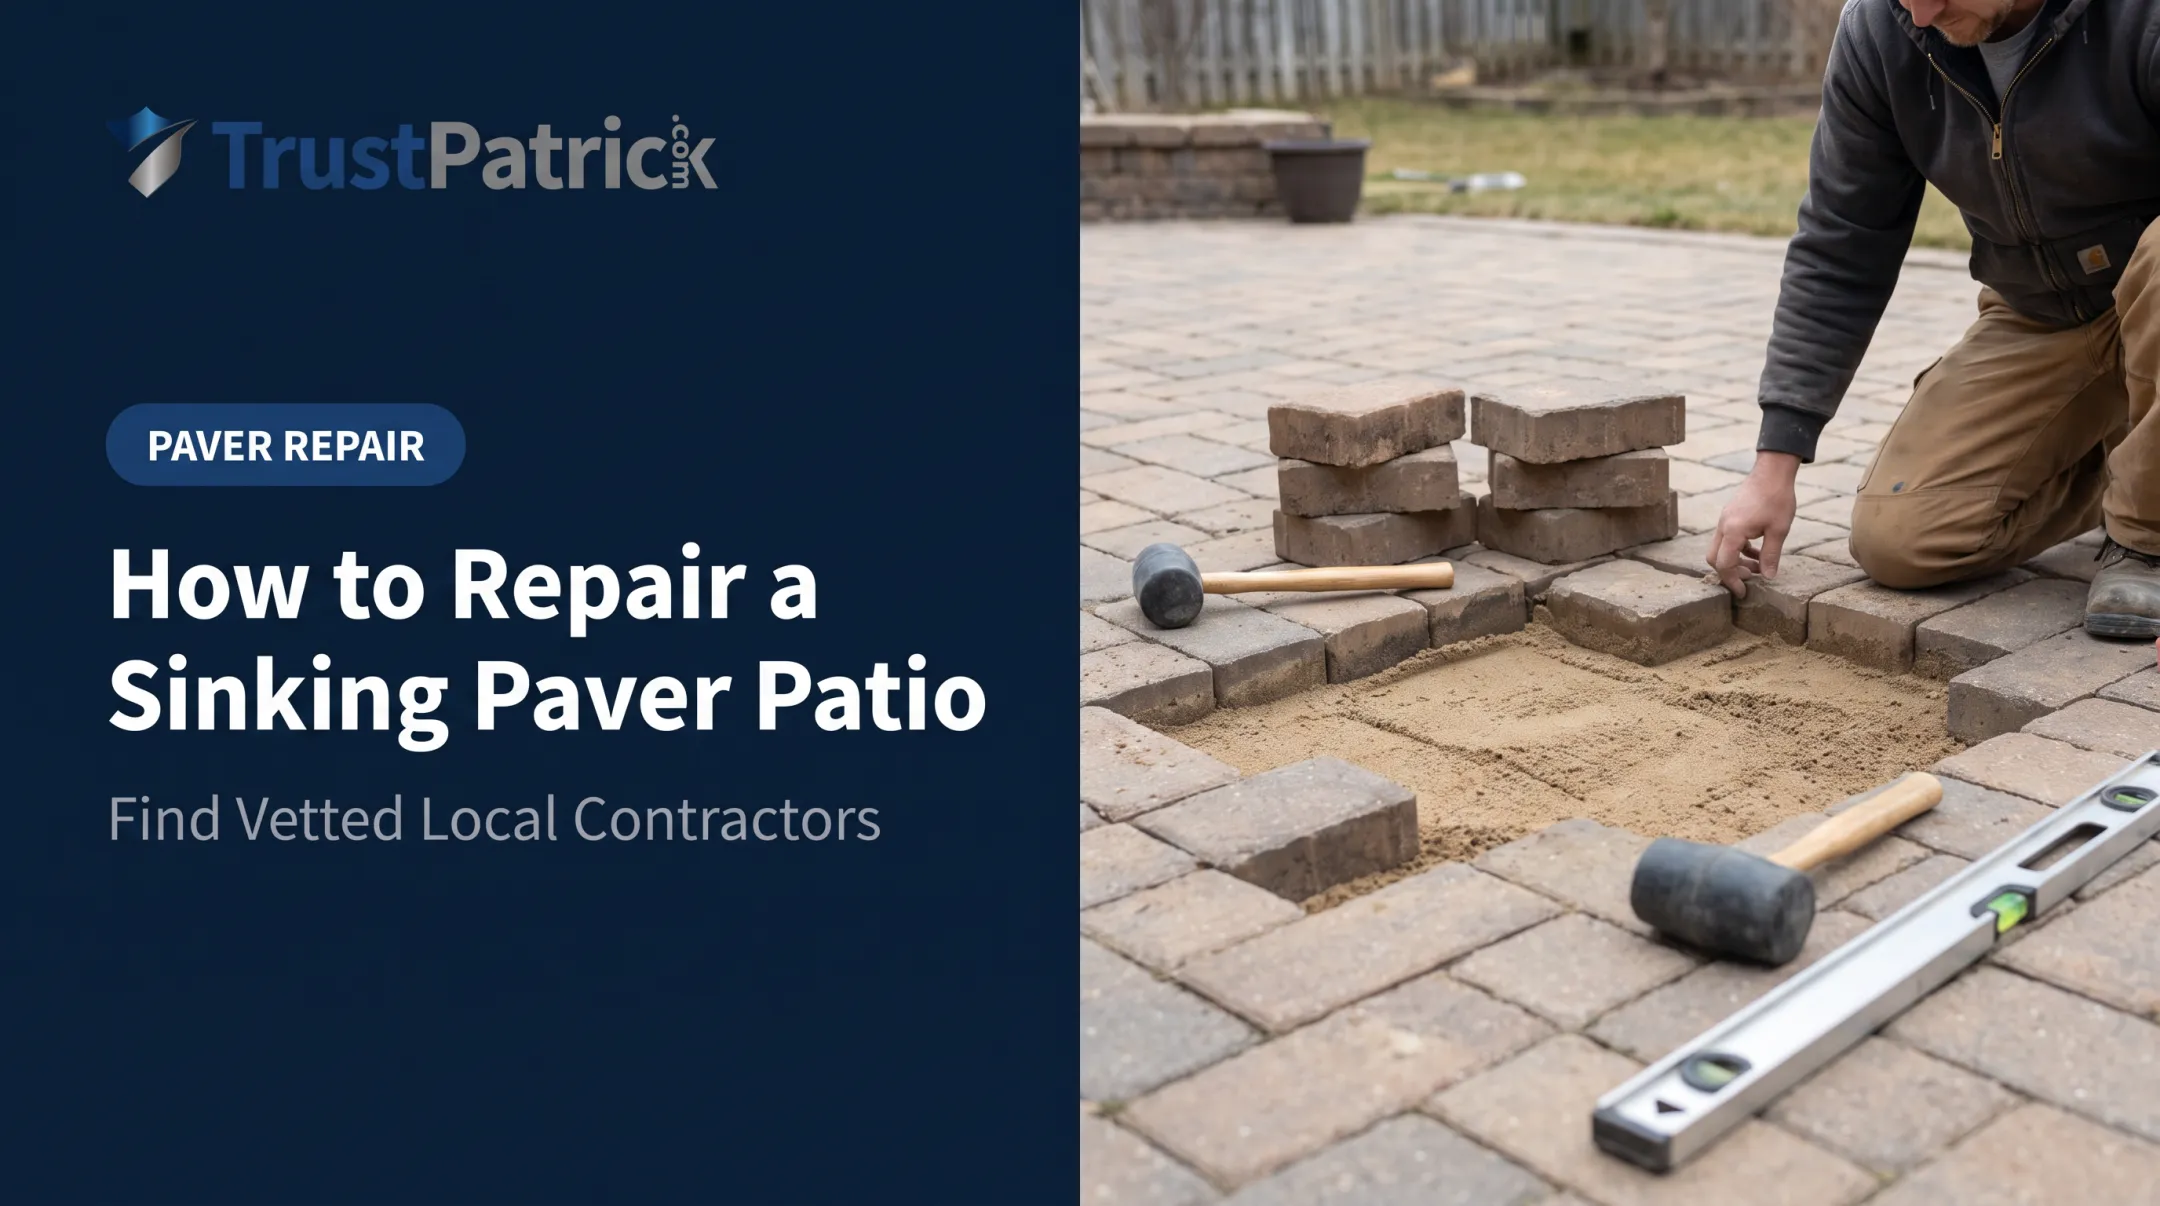
Sinking or Uneven Pavers
Problem: Individual pavers settle unevenly over weeks or months. Cause: Inadequate gravel base depth or insufficient compaction during install. Fix: Lift the affected pavers, add and compact more base material, then reset with a fresh sand bed.
Pooling Water or Poor Drainage
Problem: Water sits on the surface instead of running off. Cause: Incorrect slope grading, or a flat installation with no fall away from the house. Fix: Lift the low section, rebuild the base with a 1–2% slope away from the house, and reset the pavers on a fresh sand bed. If water pools across most of the walkway, have a hardscape contractor regrade the full base.
Weeds or Sand Erosion in Joints
Problem: Weeds sprout between pavers, or jointing sand washes away over time. Cause: Skipped geotextile fabric, standard sand instead of polymeric sand, or improper activation during install. Fix: Clear out debris, refill joints with polymeric sand, and mist per manufacturer instructions to reactivate the binder.

Isolated fixes are straightforward DIY. Widespread sinking or drainage failure usually means the base was never built right—bring in a local hardscape pro to rebuild it once rather than chasing spot repairs.
Pro Tips for a Long-Lasting Paver Walkway
- Order 5% extra material to cover cuts, waste, and future repairs
- Work in dry weather — polymeric sand can stain pavers if applied while damp
- Document your base depths and compaction passes in case you need warranty support or future repairs
- Get help for complex work like curves, natural stone cutting, or large-scale installs. TrustPatrick matches you with up to three background-checked local pros—no spam calls
Conclusion
The quality of your excavation, base compaction, and drainage grading determines how your walkway holds up through years of freeze-thaw cycles. The pavers matter less than the work underneath them.
Careful planning and honest checks after each stage separate a walkway that lasts decades from one you're redoing in three years.
If your project involves curves, drainage complications, or you'd simply rather not rent a plate compactor for a weekend, TrustPatrick can match you with up to three vetted local contractors for a no-obligation comparison of quotes and reviews.
Frequently Asked Questions
How deep should a paver walkway be?
The compacted gravel base should run 4-6 inches deep, topped with a 1-inch sand bed. That totals roughly 7-9 inches of excavation for a standard pedestrian walkway.
What is the average cost to install a paver walkway?
Costs vary widely based on material, base depth, and drainage complexity. Getting multiple local quotes gives you a far more accurate number than any national average.
How do you prevent weeds from growing between pavers?
Geotextile fabric, a properly compacted base, and polymeric sand all work together. Polymeric sand creates a nearly airtight seal in the joints once activated, which is the biggest weed deterrent.
How long do paver walkways last?
With proper installation, pavers can last for decades. Individual units are also far easier to repair than a poured concrete slab: lift out the damaged paver and set a replacement in its place.
Can I install a paver walkway myself, or should I hire a professional?
Simple, straight walkways are DIY-friendly for a motivated homeowner with the right tools. Curved designs, drainage issues, or natural stone work usually benefit from a professional installer.
Do I need a permit to install a paver walkway?
Sometimes, especially if your walkway connects to a public sidewalk. NYC, for example, requires a licensed contractor and a DOT permit for public sidewalk work. Check with your local building department before you dig.