Here's the good news: sinking is common, and it's rarely a reason to tear out the whole thing. Pavers rest on a compacted sand and gravel base rather than a solid slab, which makes them naturally prone to settling as that base shifts underneath.
This guide covers why patios sink, how to fix them step by step, when a repair makes more sense than a full replacement, and when it's time to call in a contractor.
TL;DR
- Sinking usually traces back to poor compaction, bad drainage, freeze-thaw cycles, or failed edge restraints
- Small, isolated dips can typically be repaired; widespread sinking often means the base needs a rebuild
- The fix involves removing pavers, correcting the base, and relaying them properly, not just pushing them back down
- Call a pro when drainage is unclear, sinking is spread across the patio, or the base issue keeps recurring
What Causes a Paver Patio to Sink?
Unlike poured concrete, paver patios rely on a compacted aggregate base to hold their shape. When that base fails, gravity does the rest.
Inadequate Base Compaction
If a low spot showed up within the first year or two, the installer likely skipped proper mechanical compaction. The Concrete Masonry & Hardscapes Association specifies at least 98% Standard Proctor density for pedestrian bases, a benchmark most DIY tampers simply can't hit without a plate compactor.
Poor Drainage and Water Erosion
Standing water is a red flag. If joint sand looks washed out near the sunken area, water is likely draining onto the patio instead of away from it, often from a nearby downspout or a grading mistake.
Freeze-Thaw Cycles
Notice the dip getting worse every spring? That's freeze-thaw at work. Repeated expansion and contraction of the base material gradually loosens compaction, especially in regions with harsh winters.
Missing or Failed Edge Restraints
Sinking concentrated at the patio's perimeter usually points to edging problems. Edge restraints keep pavers locked together; CMHA notes they're required along the perimeter of any interlocking pavement to prevent spreading. No edging, or edging that's cracked and shifted, lets pavers creep outward and sink.

Why Ignoring a Sinking Patio Makes Things Worse
A small dip today becomes a bigger headache tomorrow. Here's what happens when you wait:
- Trip hazards create real liability, especially if guests or kids use the space
- Water pools in the low spot, accelerating base erosion underneath
- Damage spreads to neighboring pavers as the base continues to shift
- Repair scope grows from a quick spot fix to a much larger job
According to Fixr's 2025 cost data, sinking-specific repairs run $3 to $15 per square foot. Full paver repaving (removing damaged sections and installing new material) climbs to $10 to $30 per square foot. That gap alone makes early action worth it.

How to Fix a Sinking Paver Patio (Step-by-Step)
Fixing a sunken paver correctly means addressing the base underneath, not just pressing the paver back into place. That patch job will fail again within a season.
Tools and materials you'll need:
- Paver base sand and crushed aggregate
- A level and straight edge
- Pry bar or flat screwdriver
- Rubber mallet
- Broom and garden hose
- Plate compactor (optional, but recommended for larger areas)
Step 1: Identify and Mark the Affected Area
Walk the whole patio, not just the obvious dip. Check nearby pavers for early wobble or slight unevenness. They're often part of the same problem zone. Note any pooling water, since that tells you whether drainage needs fixing too.
Step 2: Remove the Sunken Pavers
Lightly wet the joint sand to loosen it. Use a pry bar or flat screwdriver to lift each paver carefully, avoiding chips or cracks. Set them aside in the exact order they came out. That order matters for pattern-matched or irregular-cut pavers.
Step 3: Repair the Base
- Dig out the old, eroded base material in the sunken zone
- Add and compact new crushed aggregate to match the depth of surrounding areas
- Screed a level layer of bedding sand across the top using a straight edge
- If drainage caused the problem, regrade the slope or add a drainage fix before relaying anything
Step 4: Reinstall and Level the Pavers
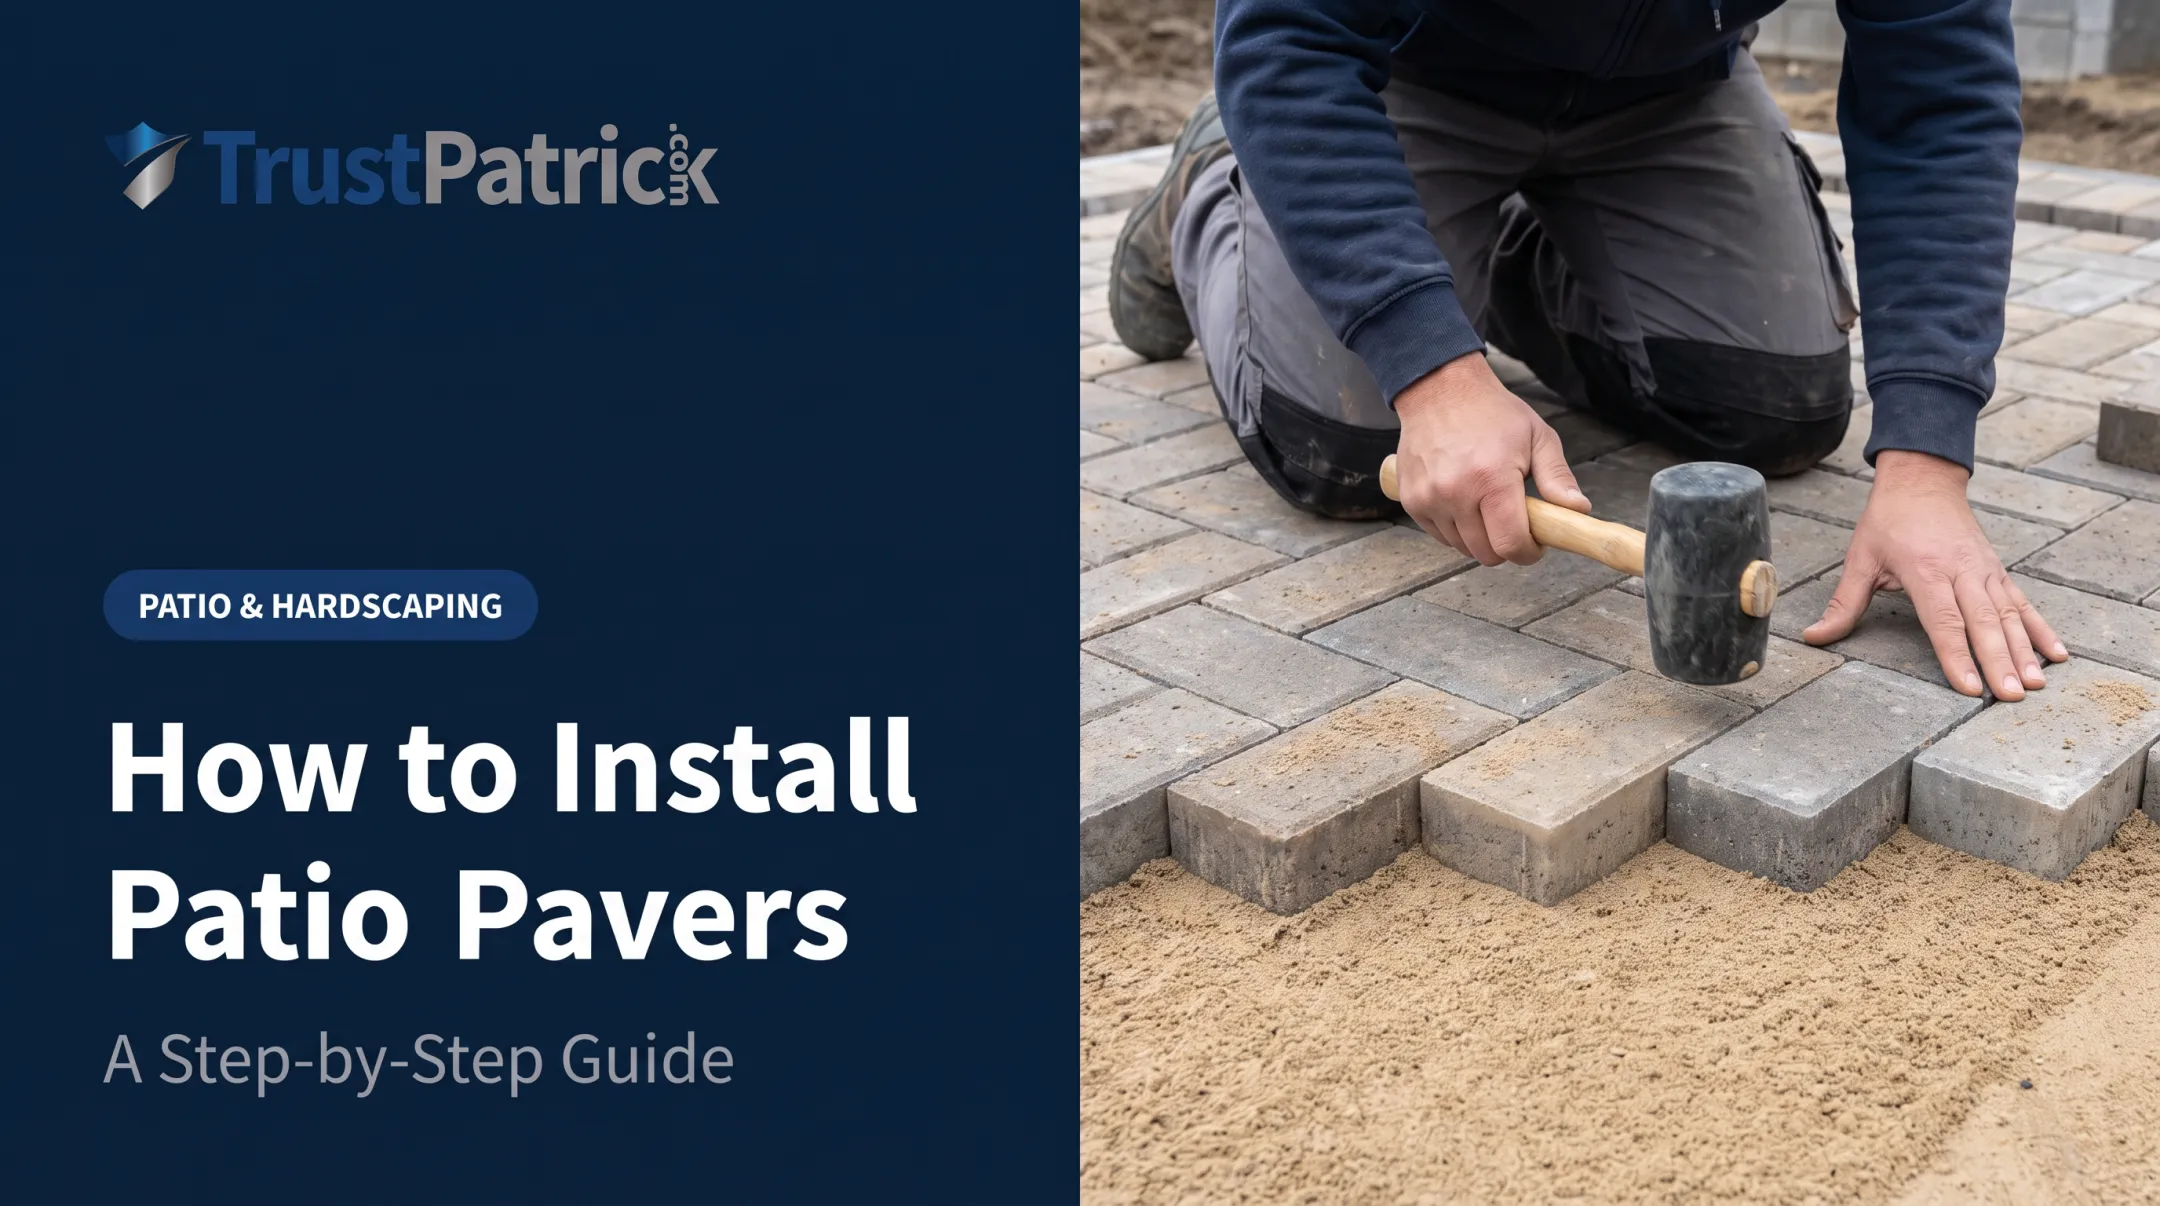
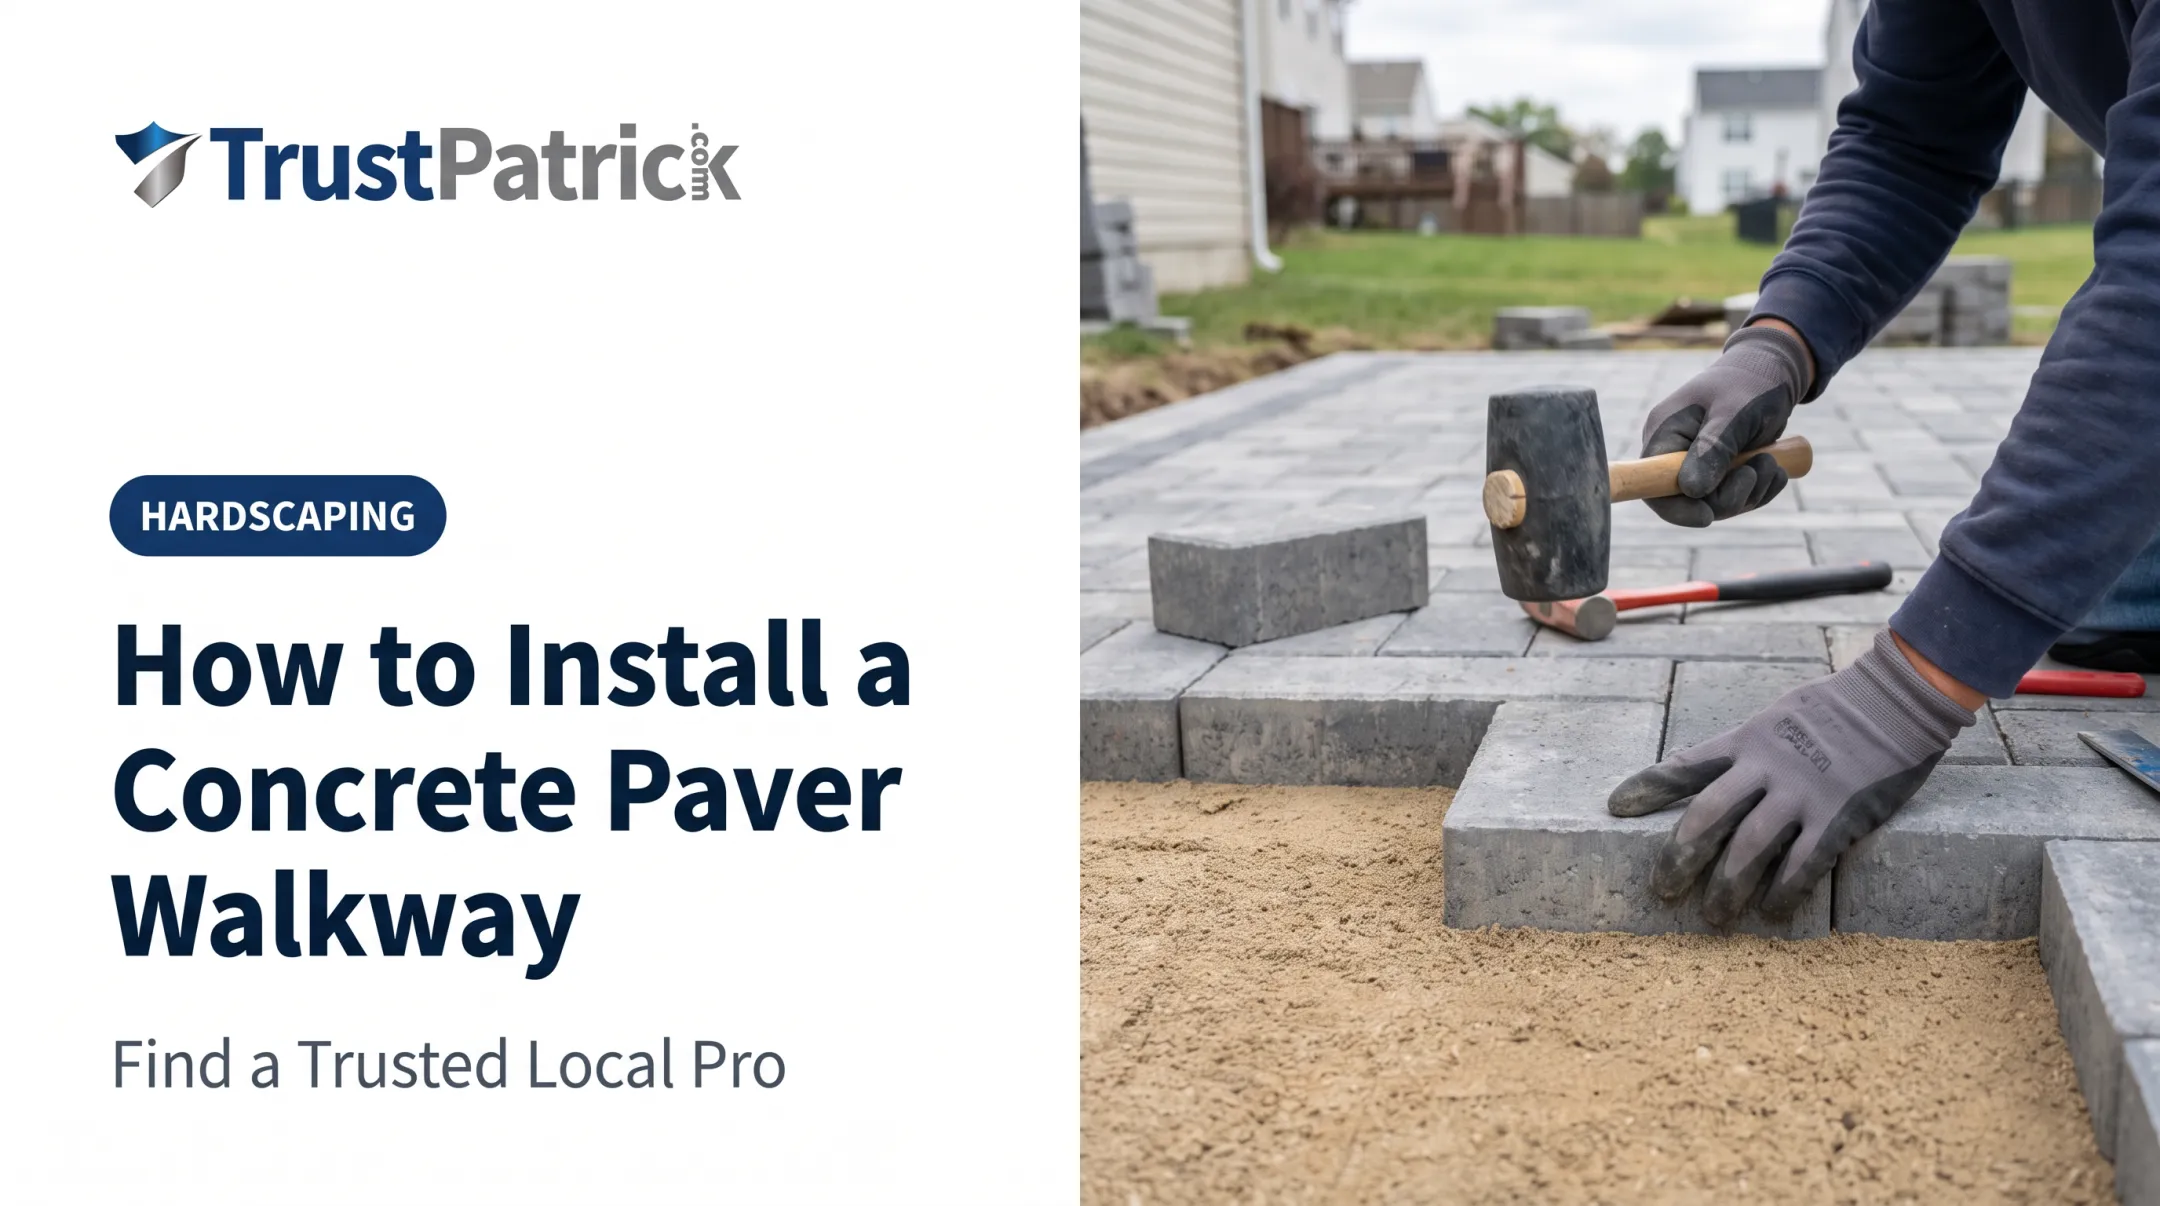
Place pavers back in their original pattern and check height against neighbors with a level. Tap each one gently into place with a rubber mallet.
Then lock the surface:
- Sweep new joint sand into the gaps
- Lightly wet the joints to settle the sand
- Repeat sanding until every joint is fully packed

For a small dip with a sound base, this sequence is usually enough. If the failed area is large, the base keeps washing out, or drainage needs regrading across the patio, bring in a hardscaping pro. TrustPatrick matches homeowners with pre-screened, background-checked local contractors so you can compare options without spam or pressure.
When Should You Repair vs Replace a Sinking Paver Patio?
The right call depends on how widespread the damage is and what's causing it.
| Scenario | Repair? | Replace? |
|---|---|---|
| One small, isolated sunken area | Yes — spot repair usually works | Not necessary |
| Sinking spread across the whole patio | Only a temporary fix | Recommended; base likely needs a full rebuild |
| Major drainage or grading problems | Won't hold unless drainage is fixed first | Best option, so you can regrade before relaying |
| Old patio, patched multiple times | Diminishing returns | More cost-effective long term |
If you've already patched the same spot twice, that's usually a sign the underlying base issue was never actually solved.
Common Mistakes to Avoid When Fixing Sunken Pavers
Most failed paver repairs come from a few shortcuts. Avoid these and the fix is far more likely to hold:
- Pressing pavers back down without rebuilding the base — they usually sink again within months
- New base left uncompacted, so the same settlement returns
- Fixing only the dip while ignoring drainage, which keeps washing out the support below
- Wrong joint sand that washes out or never locks the pavers in place

If base rebuild or drainage correction is more than you want to take on, compare local hardscaping contractors before the problem spreads.
Hiring a Professional for Paver Patio Repair
Some patio problems are best left to an experienced contractor. Diagnosing whether the issue is bedding, base, or subgrade takes experience most homeowners don't have on hand.
Call a pro when you notice:
- Widespread or spreading sunken areas
- Drainage issues you can't clearly trace
- A patio that has already been patched more than once
TrustPatrick connects homeowners with pre-screened, background-checked local paver and hardscape contractors. You can compare up to three no-obligation estimates before you hire. No pressure, no spam calls, and no paid rankings pushing one contractor over another.
Here's how matching works:
- Enter your ZIP code so the platform can identify vetted pros near you
- Get matched with up to three verified contractors
- Compare and hire based on estimates, profiles, and real reviews
Frequently Asked Questions
Can you redo a paver patio?
Yes. Pavers can be lifted, the base repaired, and the same units relaid. For severe or widespread damage, you can rebuild the full patio and install new pavers if the old ones are cracked or mismatched.
How much does it cost to fix a sinking paver patio?
Costs vary widely depending on the size of the affected area and whether it's a spot repair or a full base rebuild. Comparing a few local contractor quotes is the most accurate way to budget—platforms like TrustPatrick can match you with vetted pros for no-obligation estimates.
Can I fix sunken pavers myself?
Small, isolated spot repairs are DIY-friendly with basic tools like a pry bar and rubber mallet. Widespread sinking or drainage-related issues usually need professional-grade equipment and a qualified hardscape contractor.
How do you stop pavers from sinking again after repair?
Proper base compaction, correct drainage away from the patio, and solid edge restraints are the three keys to preventing recurrence. Skip any one of these and the problem tends to come back.
Is a sinking patio a sign of a bigger problem?
It can be. Sinking often points to poor drainage, soil erosion, or a base that wasn't built correctly the first time—fix those causes so the problem doesn't spread.
How often should paver joint sand be replaced?
Spot-check joint sand yearly and top it off as needed. Full replacement is typically needed every 5 to 7 years, depending on climate and foot traffic.