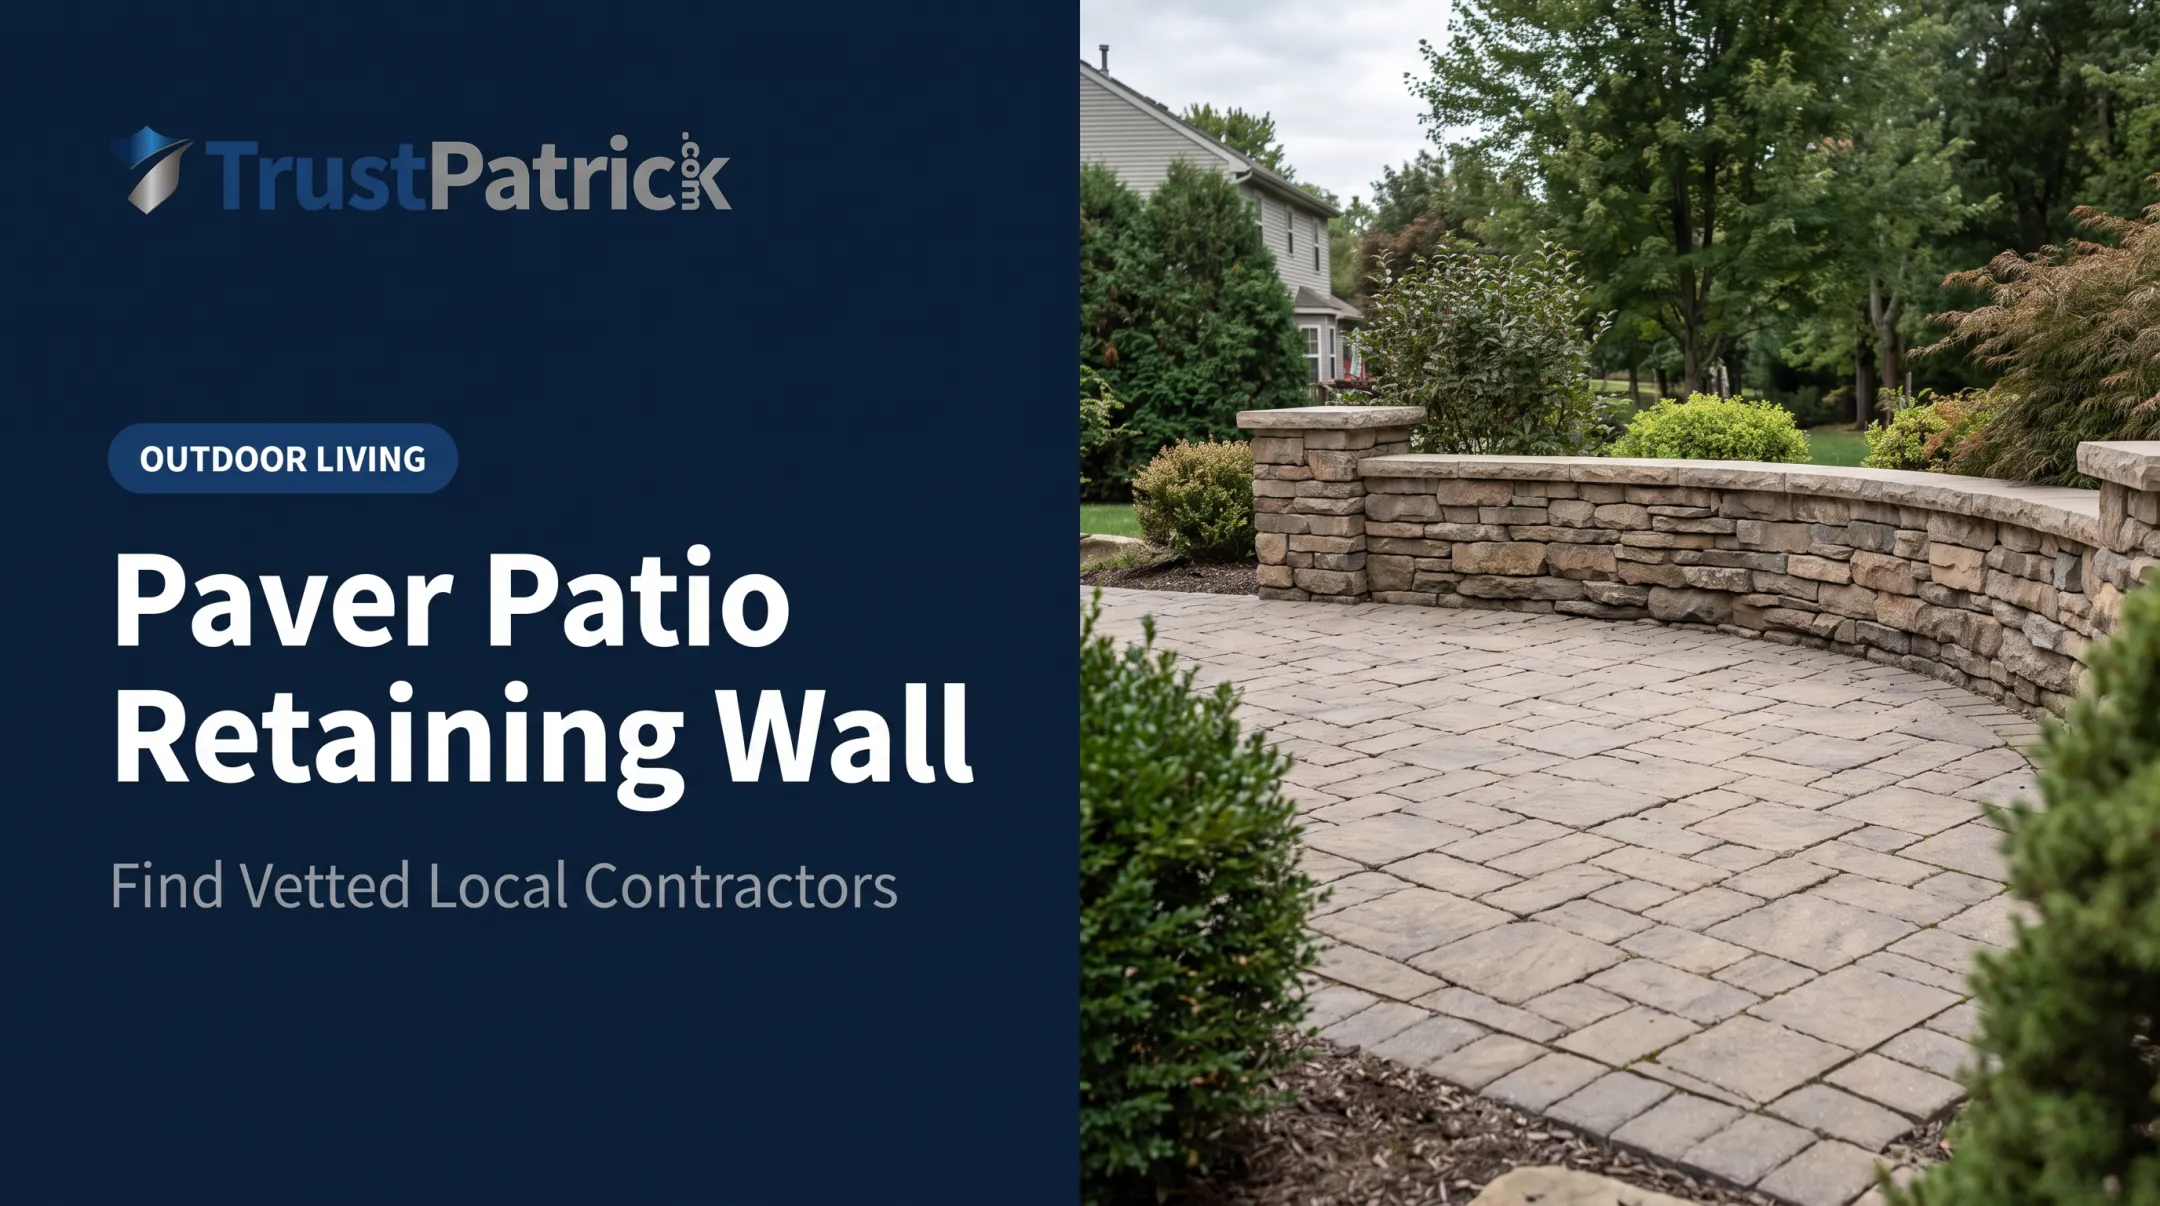
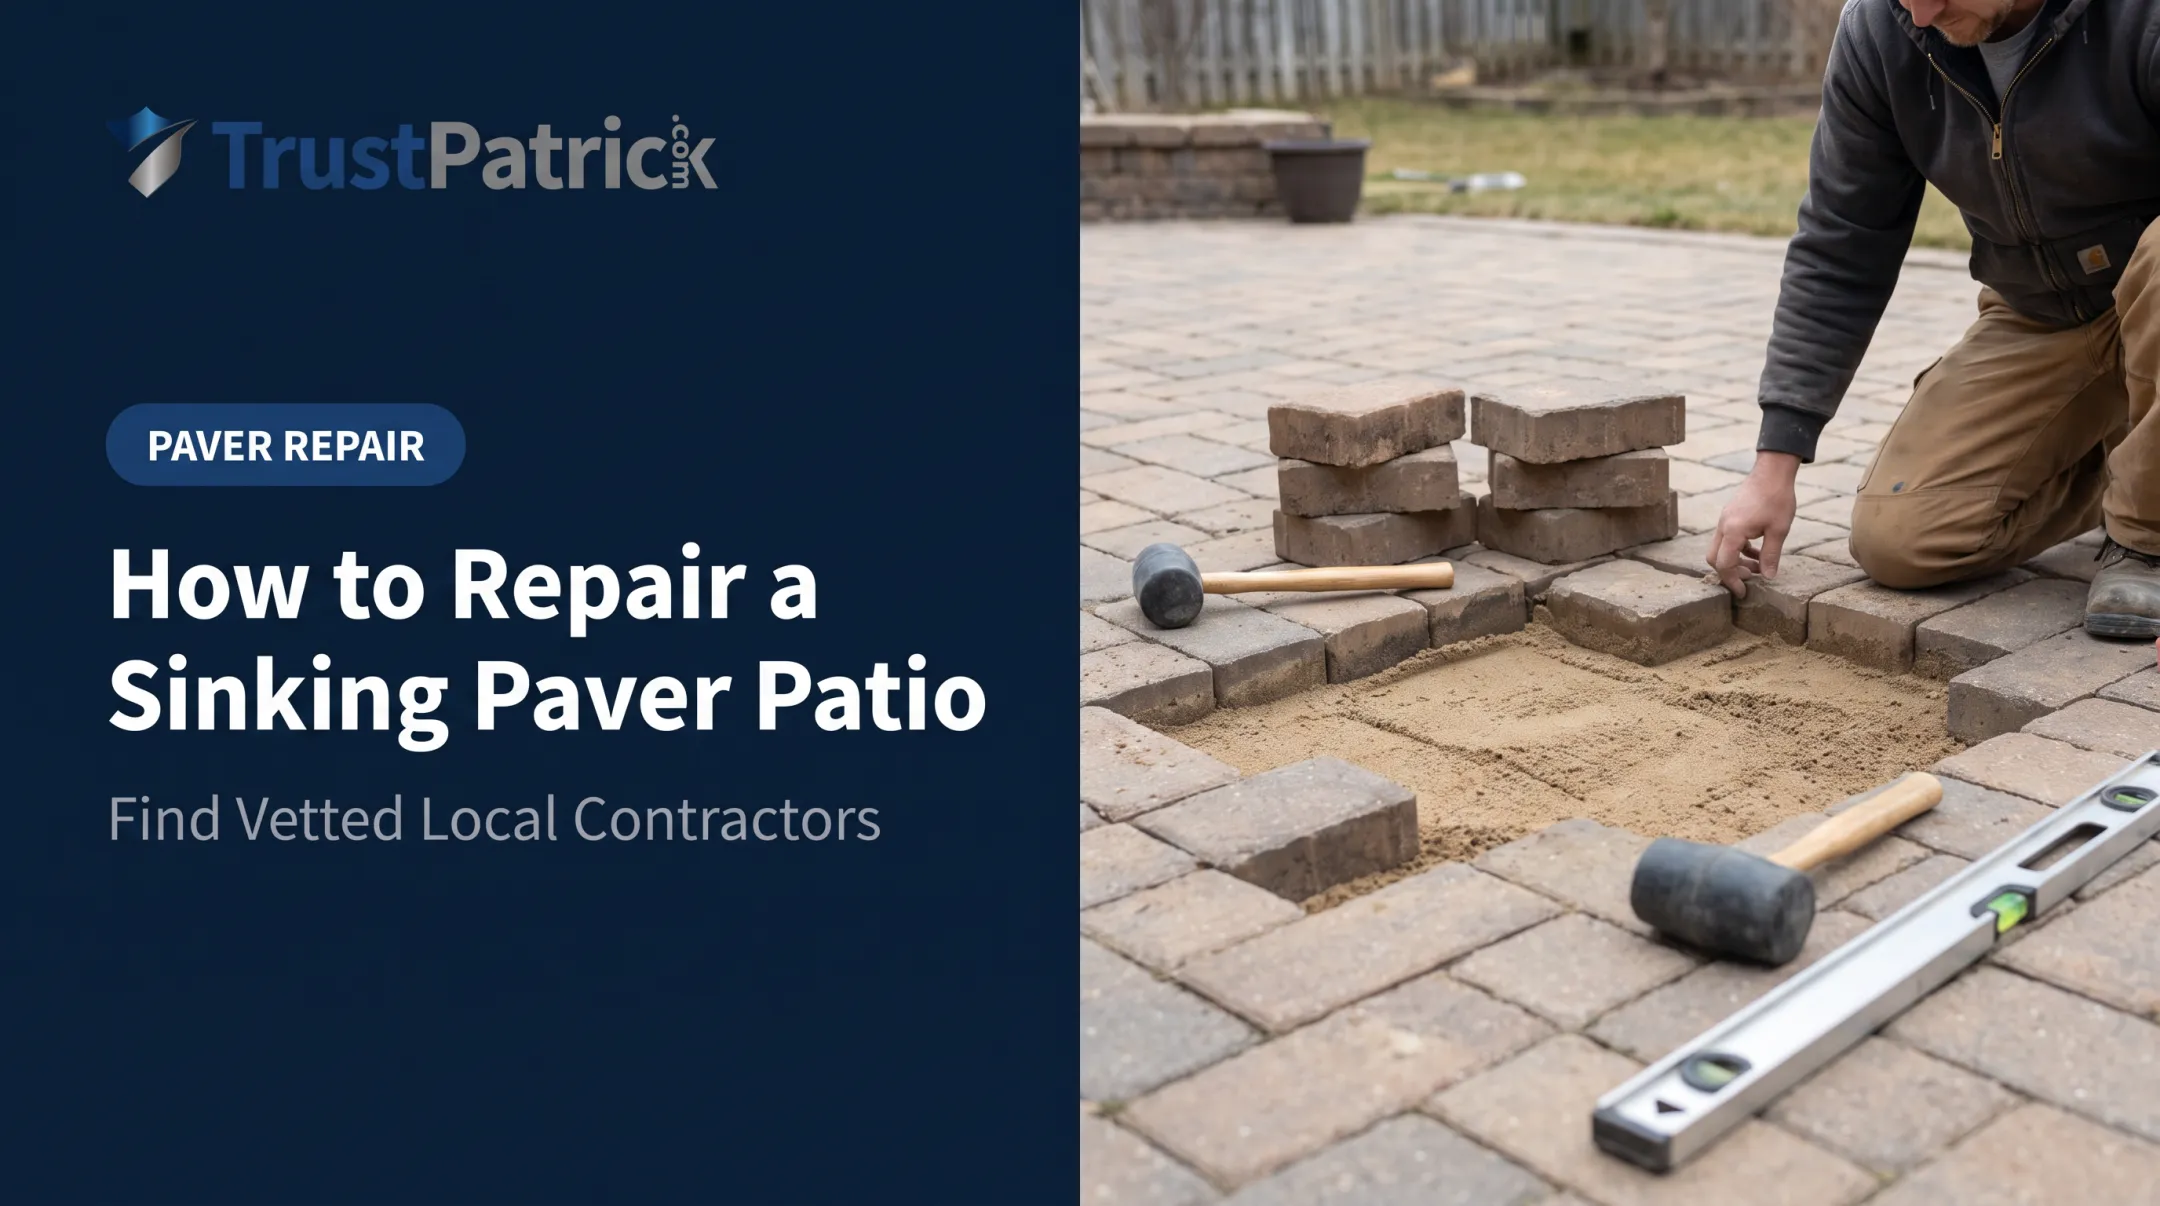
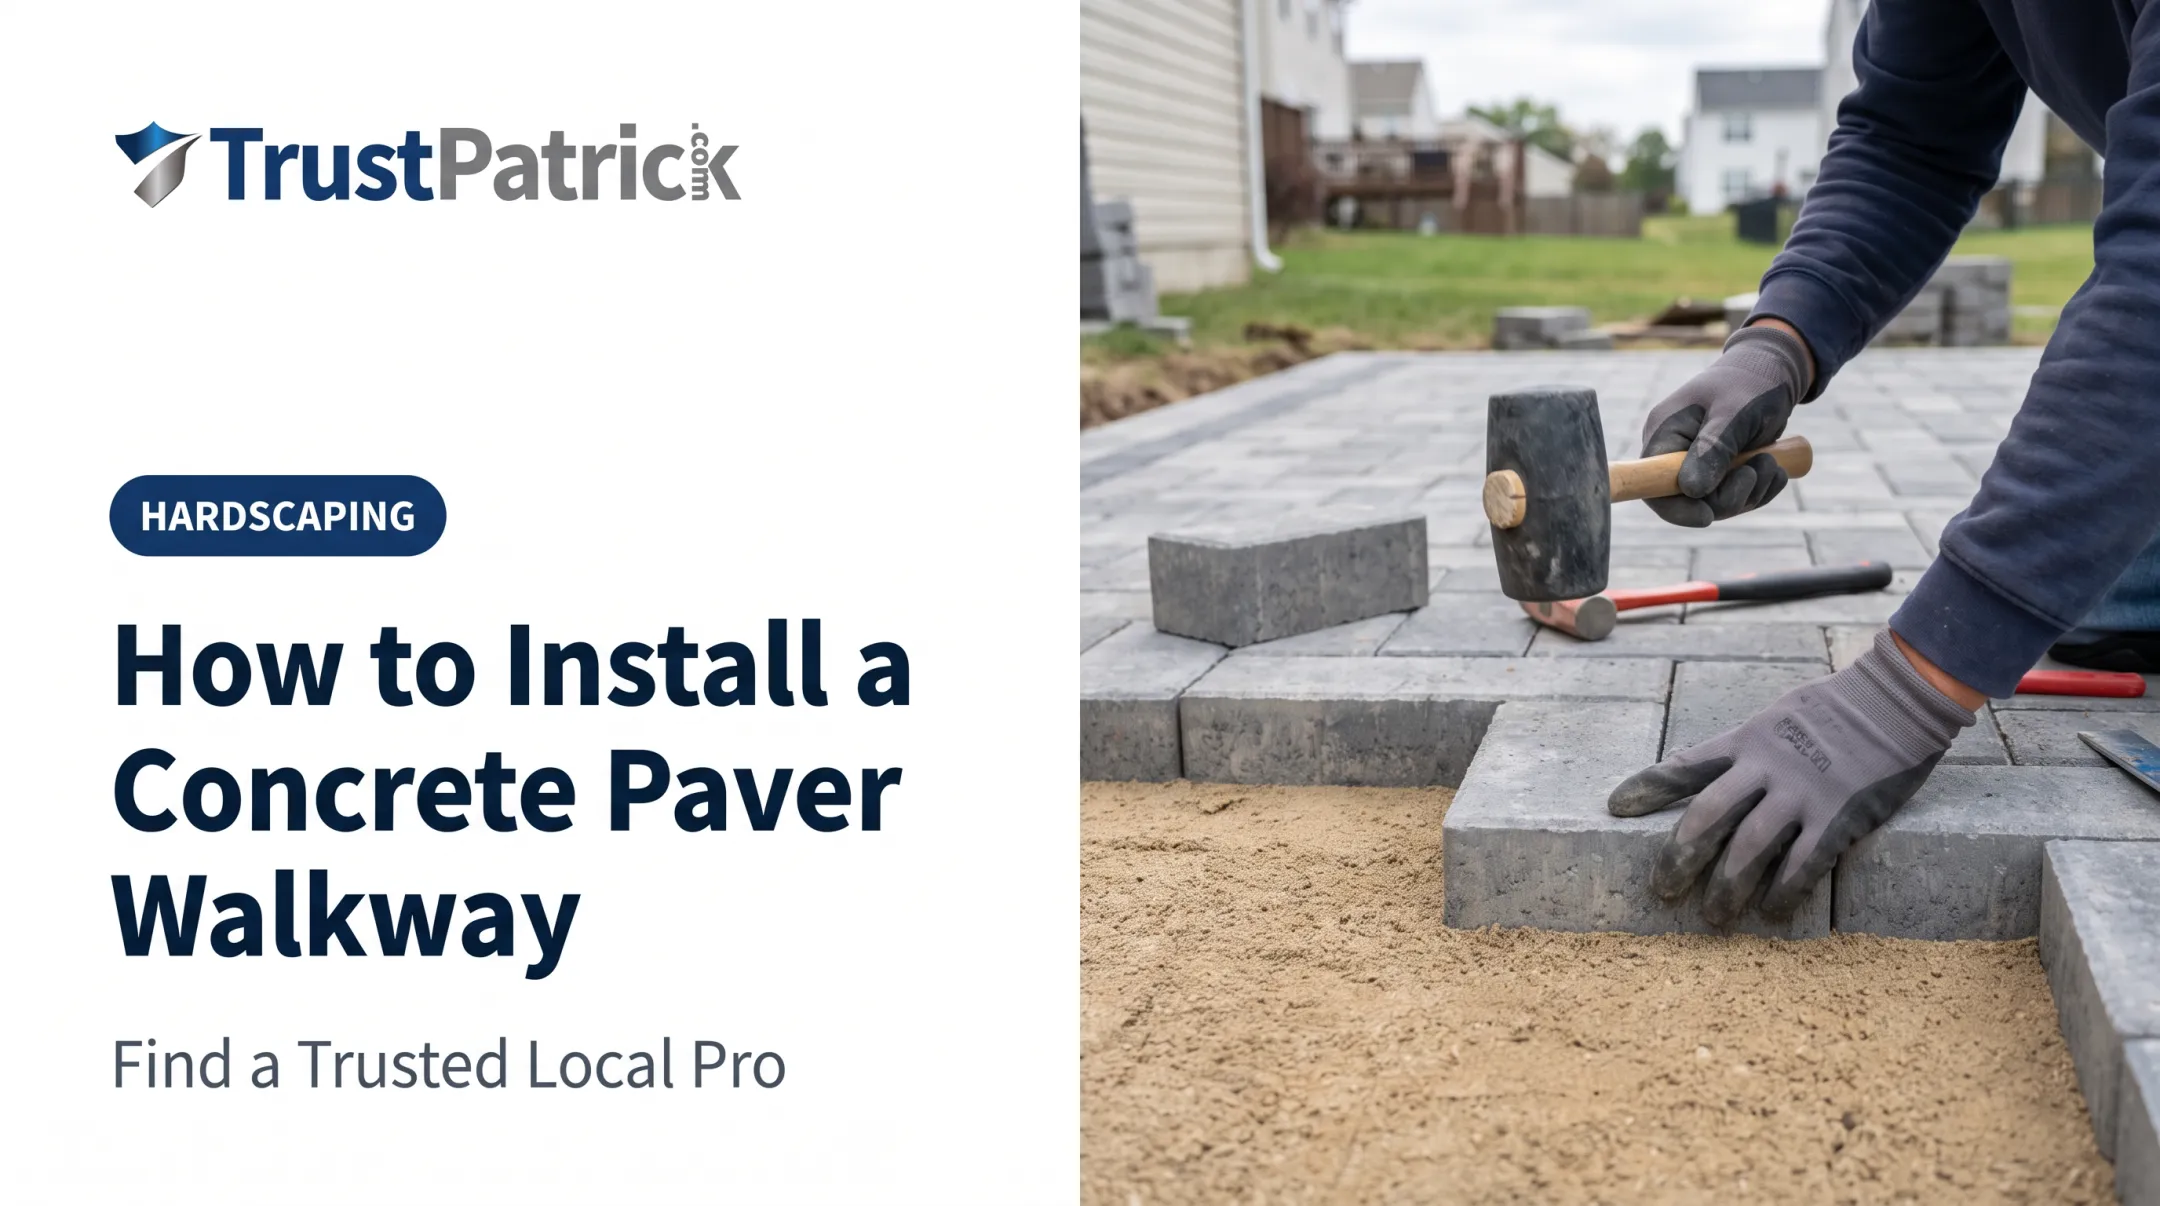
This project suits motivated DIYers with time, patience, and the right tools. If you're dealing with a large area, heavy clay soil, or drainage problems, hiring a professional makes more sense. Poor installation shows up later as shifting pavers, pooling water, sunken spots, and weed-choked joints — problems that cost far more to fix than to prevent.
This guide walks through the full process, from planning to sealing, using manufacturer and industry best practices.
TL;DR
- Installation follows planning → excavation → base/sand prep → laying → finishing → sealing
- Base depth (4-6" for patios) and slope (1/8"-1/4" per foot) are the biggest success factors
- A plate compactor, screed board, and edge restraints are non-negotiable
- Skipping compaction or using regular sand instead of polymeric sand causes most long-term failures
- For large or complex jobs, comparing quotes from vetted local contractors can prevent a costly redo
Installation Guide for Patio Pavers
The process breaks into six phases: planning, excavation, base and sand preparation, laying pavers, edge and joint finishing, and sealing. Skip a phase or rush it, and problems tend to surface months later, not immediately.
For timeline expectations, This Old House estimates roughly two days for a DIY paver patio. That's a baseline. Soil conditions, patio size, and your experience with hand tools will stretch that timeline in either direction.
If the footprint is large, the grade is tricky, or you'd rather not rent a plate compactor and masonry saw, hiring a hardscaping pro is often the cleaner path. TrustPatrick can match you with up to three vetted local contractors so you can compare scope and price before you dig.
Prerequisites and Safety Considerations
Call 811 before you dig. This free national utility-locate service marks buried gas, water, and electrical lines before excavation. Call811 recommends contacting the service a few business days ahead of any digging — even for a shallow patio bed.
Beyond utility marking:
- Measure the space and calculate material needs, adding extra for cuts and waste on irregular layouts
- Check your soil type. Clay soil drains poorly and often needs deeper excavation plus geotextile fabric; sandy soil drains better but may need extra compaction
- Never compact more than 3–4 inches at a time; thicker lifts don't compact evenly at the bottom
- Never skip the slope. Water needs somewhere to go
Wear gloves, safety glasses, and a dust mask when cutting pavers. Lift with your legs, not your back; pavers add up fast over a full day.
Gather the right tools and materials before excavation day so you are not mid-project runs to the rental yard.
Tools and Materials Required
Essential tools:
- Shovel and pick or mattock
- Wheelbarrow
- Plate compactor (at least 5,000 lbs of compaction force)
- Screed board and pipes or conduit
- Rubber mallet
- Level or laser level
- Masonry saw for cutting border pavers

Core materials:
- Pavers
- Crushed gravel base material
- Bedding sand (ASTM C33 spec; not mason sand or stone dust)
- Polymeric sand
- Edge restraints with spikes
Optional but recommended: Geotextile fabric for clay or poorly draining soil, and paver sealer for long-term protection.
How to Install Patio Pavers (Step-by-Step)
Getting the sequence right matters more than working fast. Skipped or rushed steps almost always show up later as sunken corners or standing water.
- Plan and mark the layout. Use stakes and string or marking paint to outline the patio. Set drainage slope now: Belgard recommends 1/8" to 1/4" per linear foot, sloping away from the house.
- Excavate to the correct depth. Add up your base depth, sand layer, and paver thickness, then dig that deep. Extend the excavation 6-12 inches beyond the planned edge to give the base proper support.
- Spread and compact the gravel base. Work in 3-4 inch layers, compacting each one with a plate compactor before adding the next. Check level and slope as you go. This step decides whether the patio lasts or fails.
- Install edge restraints, then screed the sand. Set restraints along the perimeter first. Screed about 1 inch of bedding sand evenly across the compacted base using pipes and a straight board as guides. Don't compact this layer; it must stay loose so the pavers can seat into it.
- Lay pavers and cut the borders. Start from a straight edge or corner. Use a "click and drop" placement to avoid dragging pavers through the sand and disturbing the level surface. Cut border pieces last, once the field is laid.
- Compact, fill joints, and seal. Run the plate compactor over the laid pavers, then sweep polymeric sand into the joints. Mist lightly to activate the binder—Unilock warns excess water washes binding agents away. Seal only after the product's cure window (often 7 to 90 days).

If excavation and base work aren't in your comfort zone, compare vetted local hardscape contractors through TrustPatrick and review up to three estimates.
Post-Installation Checks and Validation
Before calling the project done, walk the entire surface and check for:
- Rocking or uneven pavers — tap any high spots down with a rubber mallet
- Drainage performance — run a hose gently over the surface; water should sheet toward the edges, not pool in the middle
- Open or low joints — refill with joint sand and sweep until the joints sit flush with the paver edges
Skipping this step is how hidden settling issues turn into bigger repairs later. A paver that rocks slightly now usually means a void underneath. Catch it before furniture and foot traffic make it worse.

Common Installation Problems and Fixes
Three failures drive most patio paver callbacks.
Pavers Shifting or Sinking
- Problem: Individual pavers sink or wobble underfoot over time
- Cause: Insufficient base compaction, or a base too shallow for the soil type—ICPI guidance cites deformed base or subbase layers as the main driver of localized settlement
- Fix: Lift the affected pavers, check for voids or erosion, add and re-compact base, level, reset pavers, and refill joints
Water Pooling on the Surface
- Problem: Standing water after rain instead of runoff toward the yard
- Cause: Incorrect or insufficient slope during the original install
- Fix: Minor low spots may improve with polymeric sand in the joints; severe pooling usually means relaying that section with corrected grading
Weeds or Ants in Joints
- Problem: Vegetation or insect activity between pavers
- Cause: Regular sand instead of polymeric sand, or joints not filled deep enough
- Fix: Remove the old sand, refill joints fully with polymeric sand, and activate with water per the product instructions

Joint sand and small resets are realistic DIY fixes. Base failure, ongoing settlement, or a full regrade usually need a hardscape pro—compare vetted local contractors through TrustPatrick if the damage goes deeper than the surface.
Pro Tips for a Long-Lasting Paver Patio
- Blend pavers from multiple pallets while laying. Natural stone and concrete pavers vary slightly in color from batch to batch. Pulling from several pallets at once, rather than one pallet at a time, prevents visible blotches.
- Only screed as much sand as you can pave the same day. Rain or foot traffic on unpaved sand means re-leveling before you can continue.
- Document your base depth and materials. This helps with warranty claims and makes future repairs far easier.
- Call a pro for vehicle traffic, complex drainage, or large areas. Comparing quotes from vetted contractors beats risking a costly redo. TrustPatrick matches homeowners with up to three pre-screened, background-checked paver and hardscaping contractors, with no pressure and no obligation to hire.
Conclusion
A paver patio's fate is decided below the surface. Proper base depth and correct slope determine whether it lasts decades or fails within a year. Plan carefully, compact layer by layer without shortcuts, and check slope and compaction before calling the job finished.
If any step feels outside your comfort zone, you don't have to guess your way through it. TrustPatrick lets you compare up to three estimates from background-checked local pros with no obligation, so you can weigh DIY against a professional install with real numbers in hand.
Frequently Asked Questions
How much does paver installation cost for a 20x20 patio?
Costs vary widely based on paver material, required base depth, and local labor rates. Compare quotes from a few vetted local contractors to get a figure that reflects your actual site conditions.
How deep should the base be for patio pavers?
Plan for 4-6 inches for foot-traffic patios and walkways, and 8-12 inches for areas that will carry vehicle weight. Soil type and drainage can push these numbers higher.
Can I install pavers over an existing concrete slab?
Yes, if the slab is structurally sound with no major cracks and drains water away from your home. If the slab holds standing water or has active movement, you'll need to rebuild on a compacted stone base instead.
Do I need polymeric sand or can I use regular sand?
Polymeric sand contains binders that lock the sand in place once activated with water, helping resist weed growth and insect activity. Regular sand washes out faster and offers no such binding.
How long does it take to install a paver patio?
A DIY installation typically takes about two days for a straightforward patio. Size, soil conditions, and experience can stretch that timeline; a professional crew often finishes faster.
Should I seal my pavers after installation?
Sealing is optional but recommended for stain resistance and color enhancement. Wait for the manufacturer's recommended cure period first. Some sealers require a week; others take up to 90 days.