Experienced DIYers with excavation experience can attempt this project. That said, most homeowners hire licensed excavation or waterproofing contractors. The safety risks and structural stakes are simply too high for most people to gamble on.
Get it wrong, and you're looking at basement flooding, foundation cracks, mold growth, and potentially voided insurance coverage. Standard homeowners policies typically don't cover basement seepage through walls or floors, according to Massachusetts government consumer guidance.
This guide walks through planning, installing, and validating a foundation drain system from start to finish.
TL;DR
- Dig the trench with proper slope and set pipe at or below footing depth
- Use perforated pipe, washed gravel or crushed stone, geotextile fabric, and backfill soil
- Install in order: excavate → place gravel/pipe → backfill → connect discharge → test
- Skipping validation steps often leads to delayed failures like standing water or clogging
- High water tables or tight lots usually require professional installation
Installation Guide for a Foundation Drain System
The process breaks down into six phases:
- Site assessment
- Excavation
- Pipe and gravel placement
- Backfilling
- Outlet connection
- Testing

This is a multi-day, labor-intensive project. You'll need access to excavation equipment, working knowledge of local codes, and careful attention to grading. Most homeowners underestimate how physically demanding the trenching becomes. When equipment access, soil conditions, or code complexity exceed DIY comfort, hiring a vetted local drainage or foundation contractor is often the practical path.
Prerequisites and Safety Considerations
Before you touch a shovel, assess your soil. Clay soil drains poorly and changes your entire drainage design compared to sandy soil. Per IRC guidelines, drains can only be skipped where a qualified determination confirms well-drained, sand-gravel soil — not just because your yard "seems sandy."
Code compliance essentials:
- IRC R405.1 requires the drain system at or below the top of the footing, or below the bottom of the slab
- IRC R403.1.4 requires exterior footings at least 12 inches below undisturbed ground
- Footings must extend below your local frost line where applicable
Before any digging: Call 811 to request utility locating. Timing requirements vary by state. Texas, for example, requires notice at least two business days ahead.
Non-negotiable: If you discover a high water table or unstable soil mid-project, stop. Don't proceed without engineering guidance.
Tools and Materials Required
Essential materials:
- Perforated pipe (PVC or corrugated HDPE)
- Washed gravel or crushed stone (at least one sieve size larger than pipe perforations)
- Geotextile filter fabric
- Backfill soil
Equipment and tools:
- Trencher or excavator (rental is common on residential jobs)
- Line level
- Tamper
- Stakes and string for grading

Skipping the geotextile fabric might save a few dollars upfront, but it raises your long-term clogging risk. Silt and sediment work their way into unprotected pipe perforations over time, reducing flow until you're dealing with standing water again.
How to Install a Foundation Drain System (Step-by-Step)
Skipping proper slope is the single most common cause of drain failure. Use these steps to follow the work—or to check that a contractor gets the details right.
Before anyone digs, confirm local permits, call 811 to mark utilities, and treat excavation near footings as structural work, not a weekend project.
Excavate the trench. Dig around the foundation perimeter to the required depth, positioning the trench at or below the top of the footing (or below the slab bottom). Keep the trench wide enough for both pipe and gravel bed.
Set the slope. Use stakes, string, and a line level to establish continuous fall toward the outlet. Water needs constant downward flow. Any low spot becomes a pocket of standing water.
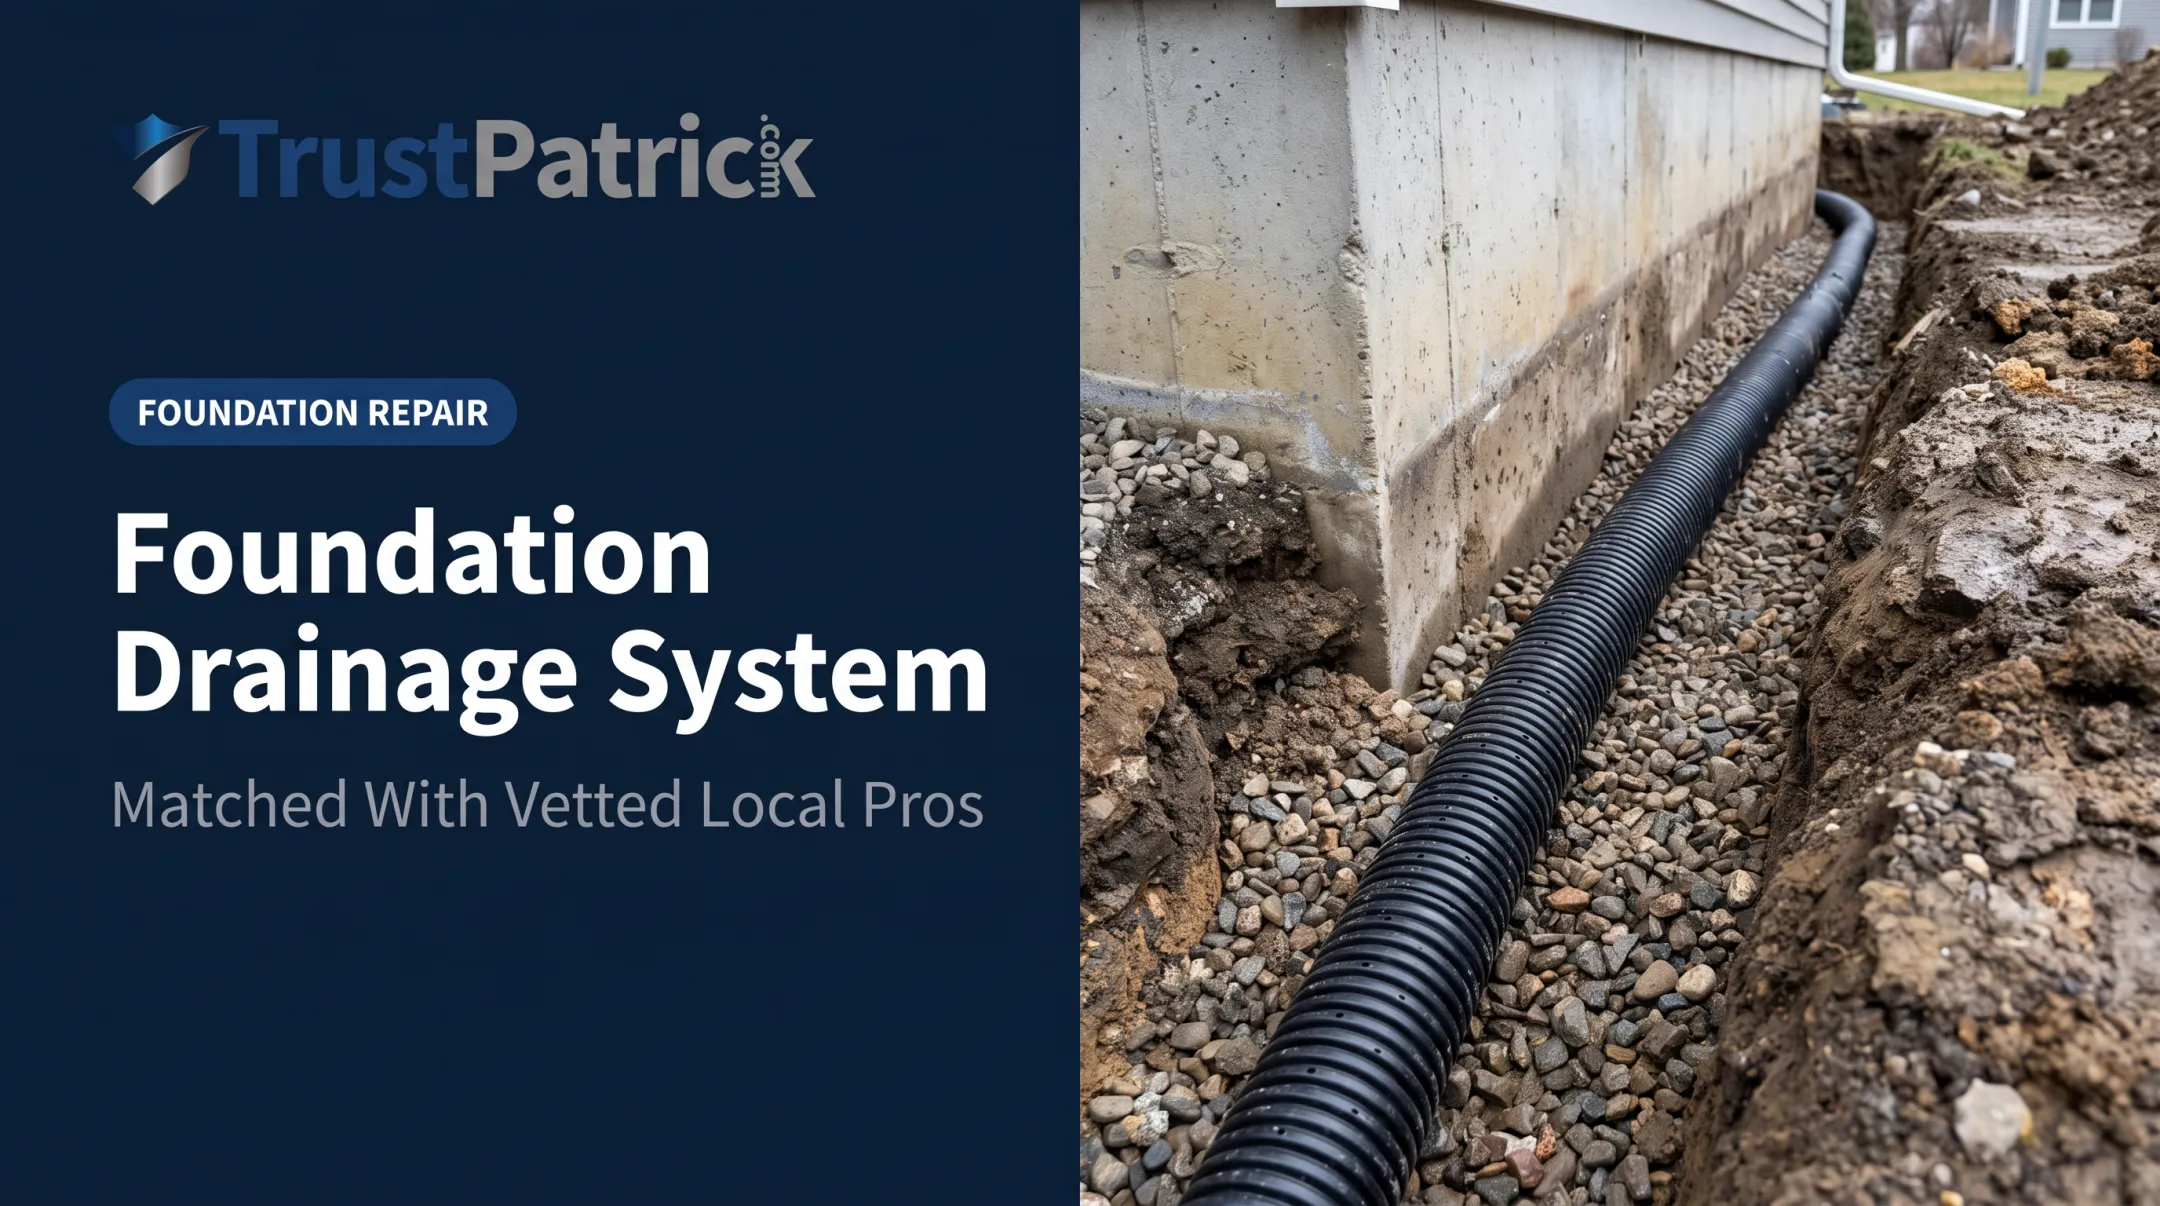
Place gravel and pipe. Lay at least 2 inches of washed gravel, set the perforated pipe holes-down, then cover with 6+ inches more gravel. Wrap the full gravel-and-pipe assembly in geotextile fabric so silt cannot clog the system.
Backfill. Cover the pipe and gravel with soil, compacting lightly as you go to limit future settling.
Connect to a discharge point. Route the pipe to daylight, a dry well, or a sump system based on site elevation and lot constraints.

For retrofit or crawl space jobs, protect existing waterproofing membranes and structural elements. Retrofitting an occupied home is riskier than new construction, where the drain goes in before backfill.
Most homeowners hire a drainage or foundation contractor for excavation, slope, and discharge. Compare vetted local pros through a matching service like TrustPatrick if you want screened bids without spam or pressure.
Post-Installation Checks and Validation
Don't backfill completely until you've validated the system. This step gets skipped constantly, and it's a mistake.
Run a water test: Pour water into the system at the end farthest from the outlet. Watch to confirm it flows freely without pooling anywhere along the run.
Visual checks to confirm:
- Slope: no shift after pipe placement or gravel loading
- Gravel: even coverage along the entire trench
- Fabric wrap: intact, with no tears or gaps
Skip this step, and undetected issues like a low spot, clog, or fabric tear often surface only after the first heavy rainfall. By then, you're digging everything back up.
Common Installation Problems and Fixes
Three issues come up repeatedly during and after installation. Catch them early and you avoid most callbacks and rework.
Standing Water in the Trench
Problem: Water pools instead of draining toward the outlet.
Likely cause: Insufficient slope or a low spot somewhere in the pipe run.
Fix: Re-check grading with a line level along the entire trench length. Raise the gravel bed at the low point until slope runs continuously toward the outlet.

Clogged Drain Pipe
Problem: Reduced water flow or backup appearing a few years after installation.
Likely cause: Missing or damaged geotextile fabric allowing silt intrusion into the pipe.
Fix: Flush the system annually as preventive maintenance. Severe clogging usually means excavating the run to replace the fabric and clean or swap the pipe—work best handled by a drainage contractor.
Water Still Entering the Basement
Problem: Dampness or leaks persist even after the drain is installed.
Likely cause: Pipe installed too high relative to the slab, or no complementary waterproofing membrane on the wall.
Fix: Verify pipe elevation sits below the slab. Add exterior waterproofing or dimple board on the foundation wall as reinforcement. If dampness continues after those checks, have a foundation drainage pro reassess the full path from trench to outlet.
Pro Tips for Installing a Foundation Drain Effectively
- Route downspouts separately. Tying roof gutters into your foundation drain adds long-term sediment load. Give them their own drainage line instead.
- Wrap the whole gravel bed in filter fabric, not just the pipe, for extended clogging resistance.
- Document everything with photos before backfilling. You’ll need them for future repairs and resale disclosures.
- Know when to call a pro. High water tables, tight lots, and sump connections make DIY riskier. Compare estimates from up to three pre-screened local contractors on TrustPatrick before you decide.
Conclusion
Correct slope, quality materials, and thorough validation determine whether your foundation stays dry for decades or fails within a few years. Skip one, and water finds the gap.
Research your local codes before you dig. Plan for obstacles like utility lines and unexpected soil conditions. And whatever you do, don't skip the testing phase before backfilling completely — it's your last chance to catch a problem before it's buried.
If the trench work, grading, or code requirements feel bigger than a DIY weekend, TrustPatrick can connect you with up to three pre-screened local drainage or foundation contractors so you can compare options with no spam and no pressure.
Frequently Asked Questions
Where should a foundation drain be located?
Place it beside or below the footing, with the pipe at or below basement slab elevation. That position lets water drain by gravity instead of pooling against the foundation.
Does a foundation drain need a slope?
Yes. The pipe needs continuous slope toward the discharge point so water keeps moving rather than sitting still, freezing, or clogging.
How deep does a foundation drain trench need to be?
Deep enough to set the pipe at or below the footing. Footings typically sit at least 12 inches below undisturbed ground and below the local frost line, so trench depth follows those same requirements.
How long does a foundation drain system last?
Lifespan depends on installation quality and materials. Systems with intact filter fabric and proper gravel last far longer; missing fabric or poor stone gradation clogs the pipe and causes early failure.
Can I install a foundation drain myself?
Experienced DIYers can handle simple, well-drained sites. High water tables, tight lots, or structural waterproofing needs usually call for a licensed excavation or waterproofing contractor.
What's the difference between a French drain and a footing drain?
A French drain diverts surface or groundwater away from a general area. A footing drain sits at the foundation footing—at or below the top of the footing—to protect the structure itself.